Moving an office usually seems simple, but the details can get tricky where you least expect them.
When moving office in Houston, what really needs to be ready before the first day?
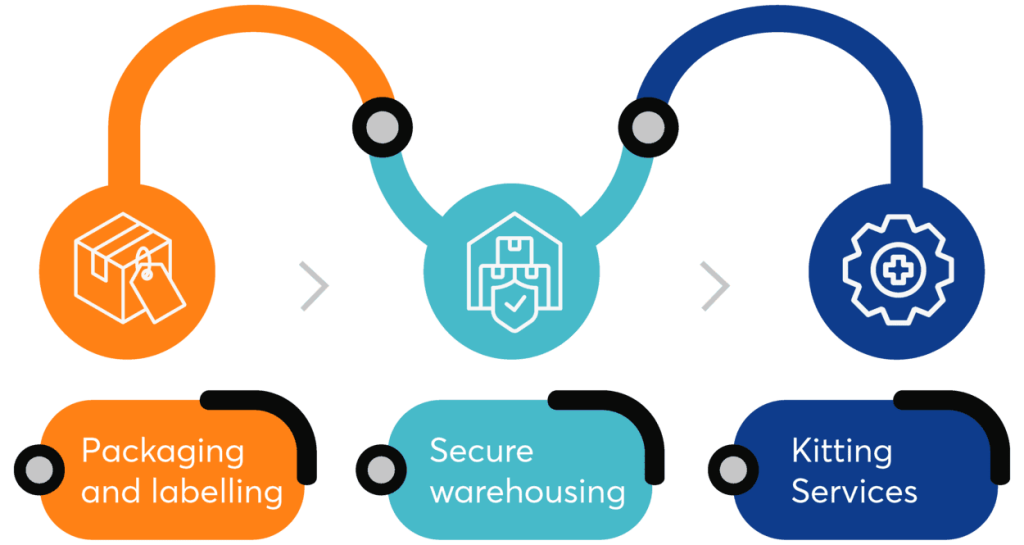
The short answer is: furniture that fits the space, signage that doesn’t confuse people, and branding items that are actually used.
So if you’re moving your office in Houston, the most important thing you need is an executive checklist.
This article was written for exactly this purpose.
A practical checklist that helps you know what to prepare for your new office, when, and with what priority.
If you want your first day at the new office to be free of confusion, don’t miss the rest of this guide!
Let’s check the 5 main steps of moving offices in Houston.

Step 1: Start with Flow Before You Buy Anything
Before you order even a single item, you need to know how this space is going to be used.
The first question is simple: How many people are going to work here?
The exact headcount number is the basis for all subsequent decisions.
After that, it’s time to structure the teams: which departments work together, which ones require more focus, and what interactions happen on a daily basis.
To choose the number of meeting rooms, consider how many meetings you have at the same time during busy hours and how big the room needs to be.
The same logic applies to storage space; files, equipment, and promotional items can quickly clutter an office if there’s no room for them.
Once this image is clear, you need to adapt it to the reality of the space.
Make a final plan and measure everything.
Consider the width of the hallways, the dimensions of the walls, the location of the windows, and the location of the columns.
This step determines what will actually fit and what just looks good on paper.
Step 2: Furniture That Supports Brand and Performance
Before making any purchase, double-check the final layout.
If the layout is not yet finalized, furniture selection is just a guess. A structured office move checklist helps ensure furniture planning follows the layout—not the other way around.
It is important to determine the location of tables, the distance between paths, the location of meeting rooms, and high-traffic areas.
And determine what kind of furniture really works and what will become a hassle later.
When investing in furniture, not all items are of equal value.
Office furniture you should invest in includes: ergonomic office chairs, comfortable office desks, conference room tables and chairs, and a reception area that creates the first impression of your brand.
The furniture you choose directly impacts your team’s comfort, focus, and brand image.
When choices are made based on the approved layout and usage priority, you will both make the space more efficient and avoid unnecessary costs.
Step 3: Signage and Wayfinding That Removes Friction
Signs and wayfinding define the path through the office and make the experience pleasant for visitors and the team.
Start at the main entrance of the company.
A company logo on the reception wall, room signage, and clear directions to meeting rooms, restrooms, and shared spaces all help reduce confusion—especially when planned with custom signage in Houston in mind.
If directions and signage are unclear, staff and guests will constantly ask questions or take the wrong path, leading to confusion.
Proper signage and markings allow the team to get to work without interruption and ensure guests have a smooth, confusion-free experience.
In other words, a good navigation system optimizes workflow and user experience at the same time.
Starting this section by examining the main routes and high-traffic areas provides the foundation for any subsequent decisions about interior design and space layout.
Step 4: Swag and Branded Touchpoints People Keep
Many companies source promotional products in Houston to ensure branded items arrive on time and match the quality of the new office environment.
When moving an office, don’t just think about office furniture and signs.
Branding items like onboarding kits, conference leave-behinds, or grand opening items not only help reinforce your brand image but can also create a positive and lasting experience of the new office in the minds of employees and visitors.
There are a few simple rules to keep in mind to avoid wasting money at this stage.
- Focus on quality, not quantity: One or two high-quality items that are actually useful are always better than a lot of useless items.
- Durable and usable items: Look for gifts that will last in the office or at employees’ homes long after the first day.
- Avoiding ephemeral and non-functional objects: Low-quality pens or decorative items that quickly go out of stock are usually bad choices.
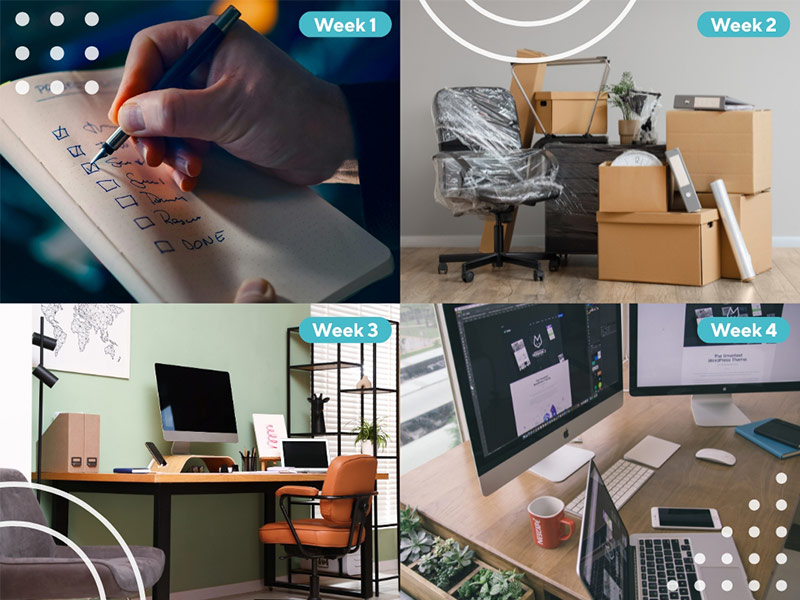
Step 5: The 30-Day Timeline
Week 1: Planning and Initial Steps
In the first week, the main goal is to plan carefully.
At this stage, you should do things like coordinate with the design team, suppliers, and contractors to determine the needs of the new office.
Make a list of all the furniture, equipment, and essential items for the office.
A summary of what you need to do this week includes:
- Final approval of the space plan
- Selection of suppliers and contractors
- Initiation of the furniture and equipment ordering process
- Review and confirm lead times for various items
Week 2: Ordering and Logistics
The second week is mostly dedicated to orders and coordination.
All required items must be ordered, and scheduling confirmation must be received from suppliers.
Also, all planning related to the installation and layout of the space should be done this week.
A summary of what you need to do this week includes:
- Finalizing furniture and equipment orders
- Coordination for furniture transportation and installation
- Checking the progress of order processes and delivery schedules
Week 3: Installation and Setup
In the third week, installation and layout are implemented.
This week includes furniture installation, sign installation, equipment, and other necessary items.
A summary of what you need to do this week includes:
- Furniture and decoration installation
- Installation of signs and route guides
- Adjusting the space based on the needs of the team and offices
- Preparing technology equipment (computers, systems, internet)
Week 4: Final Touches and Testing
The final week is a time to make sure everything is working properly.
This week is the time to do final checklists and assess the quality of work.
A summary of what you need to do this week includes:
- Checking and testing equipment (computers, lighting, ventilation)
- Confirming final coordination regarding the installation of signs
- Preparing the space for the teams to enter
- Final inspection and correction of any defects
Lead Times and Install Coordination
Throughout these four weeks, the key is to properly manage lead times and installation coordination.
This means you need to track delivery times for items from suppliers and ensure that everything arrives on schedule.
You need to make sure that there are no delays or mistakes in the final days.
The “Don’t Mess This Up” Utility Checklist
Moving an office can be complicated, but following a few simple tips can prevent big mistakes.
This practical checklist will help you make sure you don’t forget anything:
- Measurements: Double-check the exact dimensions of rooms, hallways, doorways, and elevators so that furniture and equipment can fit easily.
- Lead times: Check delivery times for everything from furniture and signs to tech equipment before you buy.
- Install windows: Determine the timeframes for installing furniture, panels, and equipment in advance and coordinate with contractors.
- IT readiness: Check that the network, internet, outlets, and technology equipment are ready and installed before teams arrive.
- Delivery access: Specify delivery routes, loading locations, and parking to ensure smooth transportation of equipment.
- Elevator or Freight access: If the office is on the upper floors, make sure there is an elevator or suitable freight access for moving furniture and equipment.
- Permits and Building requirements: Check any necessary permits or building restrictions for the timing of office furniture installation and entry.
- Coordination with staff: Ask all teams to adhere to the check-in and space usage schedule so that the first day is seamless.
This moving office checklist helps keep everything under control, from the smallest details to the biggest issues, and makes your first day at the new office stress-free and challenging.
Conclusion
As we explained in this article, a successful office move only happens when all the components are in harmony.
The layout of the space should be logical, the furniture should be comfortable and appropriate for the team’s work, the signs and directional signs should streamline the routes, and the branding items and swag should create a positive and lasting experience.
When these elements come together, the first day at a new office can be stress-free.
Also, employees and visitors will have a professional and organized experience.
To make sure you don’t miss a thing, we’ve put together this 30-day office moving checklist.
Use it to ensure that all steps, from office space planning to installation and delivery, are executed correctly.